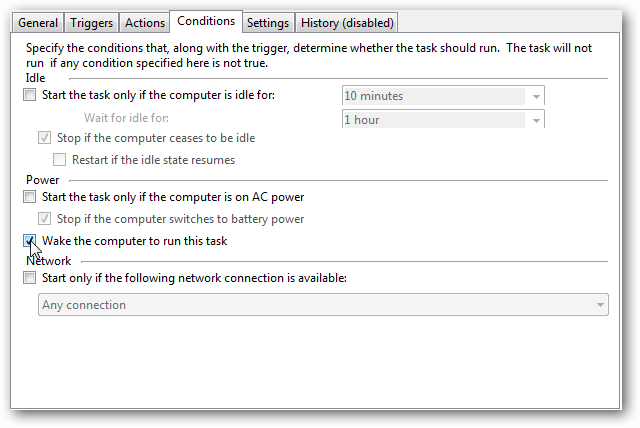
How to Unlock a Locked Cell Phone and Why You Might Want To
![locked-cell-phone[3]](http://www.howtogeek.com/wp-content/uploads/2013/09/locked-cell-phone3.jpg "locked-cell-phone[3]")
Most cell phones sold in North America — especially on contract — are “locked” to a particular cellular carrier. They can only be used on that carrier’s network, so you can’t switch to another carrier without “unlocking” it first.
Phone locking applies to nearly any type of cell phone, from the lowest, cheapest dumb phone to the highest end smartphone. Unlocking is different from jailbreaking and rooting, which bypass other software restrictions on mobile devices.
Unlocking Won’t Make Phones Completely Portable
First, it’s important to bear in mind that phones won’t always be capable of working on another carrier even after they’re unlocked. For example, in the USA, AT&T and T-Mobile use the GSM wireless standard, while Verizon and Sprint use the CDMA wireless standard. These are incompatible with each other, which means that you can’t unlock a CDMA phone purchased on Verizon and take it to AT&T’s GSM network, or vice versa.
CDMA is also a more restrictive type of network — while you can unlock an AT&T phone and take it to T-Mobile, you can’t unlock a Verizon phone and take it to Sprint, as Sprint’s CDMA network will reject the phone.
Luckily, most of the world has chosen the less-restrictive GSM standard. Before you consider unlocking a phone and taking it to another carrier, ensure that your phone will actually be capable of functioning on that carrier’s network.
Phone Locking Explained
The CDMA/GSM difference is a legitimate technical barrier to moving phones between carriers. However, there are also artificial barriers. Carriers “lock” phones to make them only function on that carrier’s network.
For example, let’s say you walk into AT&T and pick up any smartphone on contract. That phone will then function on AT&T’s network, but if you try to place a T-Mobile SIM card into the phone and switch to T-Mobile’s network, the phone will reject the T-Mobile SIM card. There’s no legitimate technical reason for this — it’s compatible — but the AT&T phone is “locked” to AT&T’s network and will only accept AT&T SIM cards.
This would also get in your way if you were travelling and wished to use a local carrier in the country you were visiting rather than paying expensive roaming fees — your locked phone would reject anything but an AT&T SIM card.

Why Are Phones Locked?
Cellular carriers argue that phone locking is a necessary part of their business. By locking phones they sell on contract, they’re able to keep customers on their network so they’ll continue paying their monthly bills. Remember, phones aren’t actually worth their on contract prices — they’re subsidized. No phone is actually “free” and the latest iPhone actually costs more than $199 — so the carrier needs to recover the cost of the on-contract phone over the lifetime of the contract. If consumers were able to take their phones to other networks, carriers argue that they would have difficulty recovering the price of the phone and their business model would take a hit.
In reality, this is a fairly silly argument. If you buy a phone on contract, you’re signing a two-year contract. If you want to take that phone to another carrier, you’d have to break your contract and pay an early termination fee or keep paying the monthly bill for the lifetime of the contract. This contractual obligation would still be binding even if the phone itself was sold unlocked and you took it to another carrier. Some smartphones may even be sold locked if you buy them from a carrier store at full price, without signing a contract, which shows how silly this argument is.

Wireless carriers are gouging us — particularly in North America, where the USA and Canada have the most expensive cell... [Read Article]
Cell phone locking is really just a way to create additional friction for average people switching carriers, encouraging them to stick with their current carrier instead of looking around for a better price and switching carriers. It’s one of the many horrible business practices carriers employ to gouge their customers.
Unlocking Your Phone
So you want to unlock your phone. Maybe your contract has expired and you want to switch to another carrier, maybe you’re visiting another country, or maybe you just want to pay an early termination fee and get out of your contract early.
There are several ways to unlock a phone:
- Call and Ask Nicely: Your carrier may unlock your phone for you. Call your carrier and ask nicely — if your contract has expired, they’ll hopefully unlock your phone for you. If you tell your carrier you’ll be travelling and wish to use a SIM card from another country to save on roaming fees, they may also unlock your phone for you. They may charge a fee for this, but it’s worth a shot.

The Digital Millennium Contract is a US law passed in 1998 in an attempt to modernize copyright law to deal... [Read Article]
- Unlock It Yourself: At the moment, unlocking a cell phone without permission is illegal in the USA, thanks to the Digital Millennium Copyright Act. However, if you live in another country or are willing to be a rebel and flout a law everyone agrees should be changed, you can often unlock phones on your own without anyone’s permission. The exact process will vary from phone to phone, so you’ll have to perform a web search and find instructions for your specific mobile phone.

Of course, not all phones are sold locked. Often, phones sold directly from the manufacturer instead of by a carrier come unlocked. You’ll generally have to pay full price to get an unlocked phone that you can move between carrier networks, as there’s no carrier to subsidize the phone’s full cost.